Today we are sharing some advice for making clothing light up in a simple way (basically sewing in a battery powered strings of lights).
This maybe an easier method for most people than the version we explained in detail in the earlier blog about creating light up costuming using a more complicated e-textile method (literally wiring together a circuit of individual LED bulbs onto clothing). So this blog is for my friends who requested a follow-up with a way that didn't require knowledge of electrical circuits and only minimal basic sewing ability.
INDEX: choosing an item to light up / battery packs / choosing light strings / sewing them down / buying lights online
Basically you get a string of battery powered christmas lights and attach them to your clothes.
CHOOSING what to light up (CLOTHING, ACCESSORIES & FABRIC) -
Sturdier fabric is easier to work with because it can hold the weight of the lights, wires & battery. You can add lights to an old hat, vest, arm cuffs, coat lapels, disco panties, skirts, whatever is clever really.
When choosing an item of clothing to light up, avoid metallic fabric that may be conductive. If any wiring becomes exposed during wear, it will short out if it comes in contact with metal. So try to avoid hard bends in the wiring & don't tie knots or anything with the wire as that can break down the tiny copper wiring inside the insulating cover & eventually kill your lights.
Choose an accessory or piece of clothing that is made of fabric that can
handle the weight of adding lights without tearing or stretching out of
shape. Its a little trickier, but you add lights to weaker fabric if
you are super careful about how you sew them in, AS LONG AS there is
some reinforced part of the garment like a waistband or belt or
something that you can attach the battery pack to.
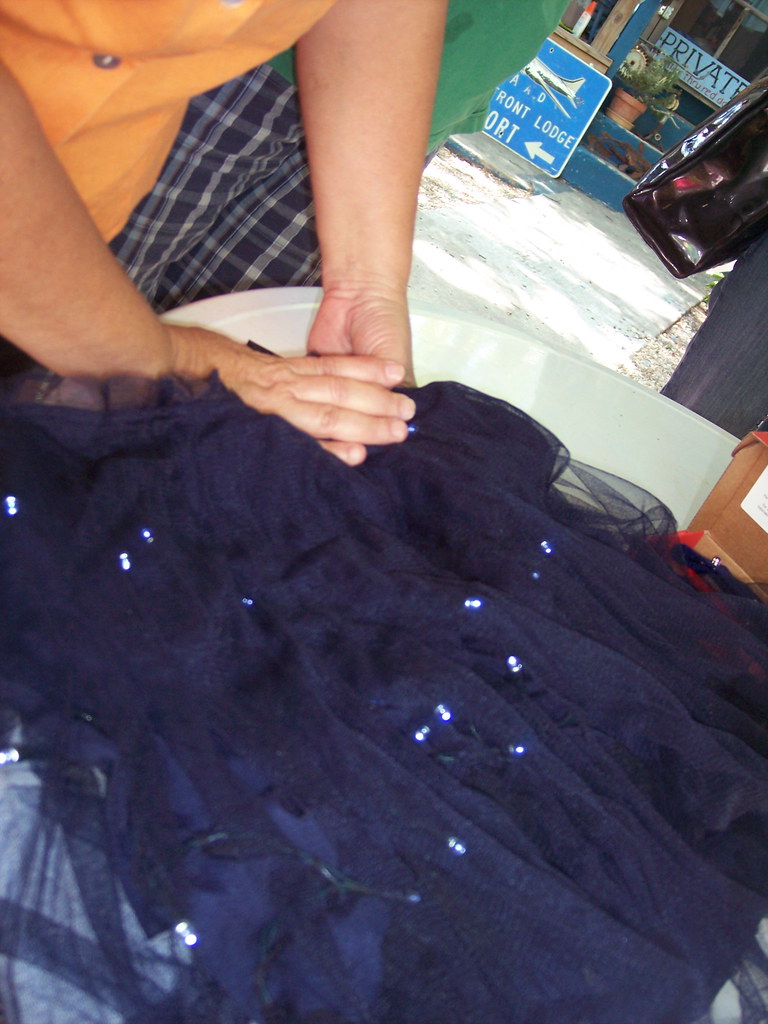
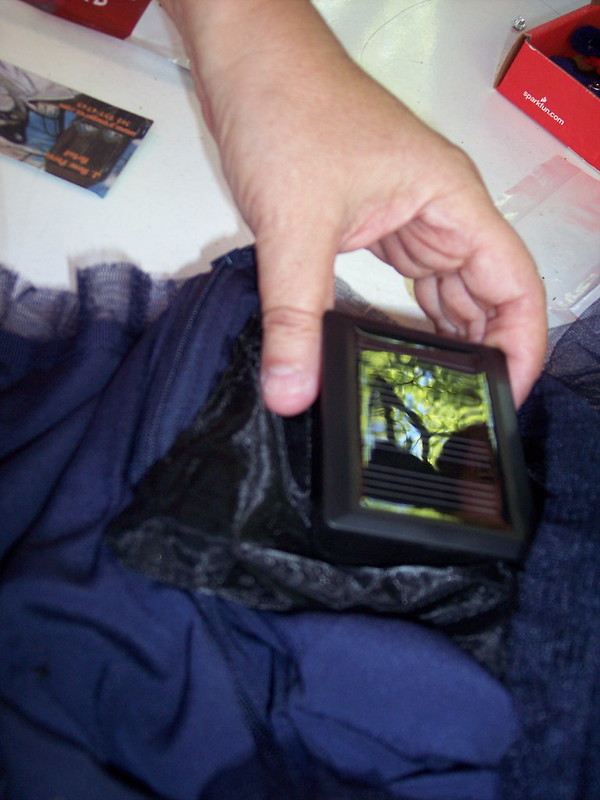
(photo caption: Sonia Santana made her tutu light up with solar powered lights by attaching the lights to the satin lining instead of the tulle. Notice the black fabric battery pocket is attached to the inside of the darker blue waistline)
BATTERY PACKS -
Be sure to consider where you are going to hide the battery pack as it is the heaviest part of the rig & you won't want it seen.Some people in the workshop built a little fabric pocket to hold the battery pack and others even utilized a pocket already on the garment. Velcro or a plastic button can be a handy way to close the pouch to keep the battery pack from falling out of the pocket or tearing the material it is attached to. gaffers tape will work, but it is cumbersome to open & close & isn't a very good long term solution to holding down the battery pack (sweat can make tape lose its stick, & taped down battery packs are challenging to change the battery in). If you make your own "power pocket" be sure to sew it into a part of the garment that can support its weight without making an unattractive sag in your outfit (waistbands are good, & hidden behind seams also works, it depends on what type of clothing you are working with.
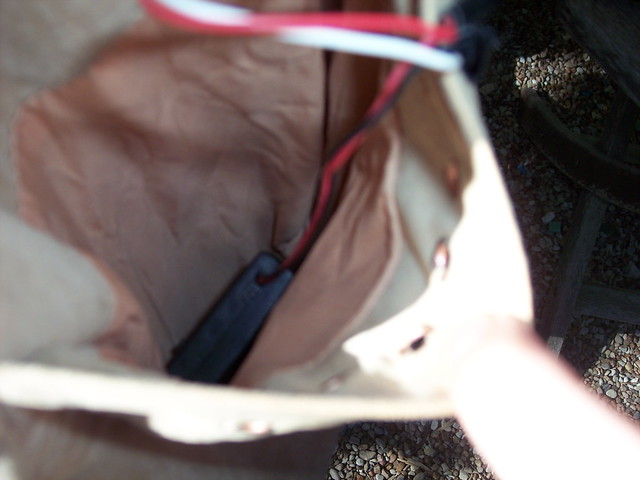
(photo caption: Brant's battery inside breast pocket of jacket)
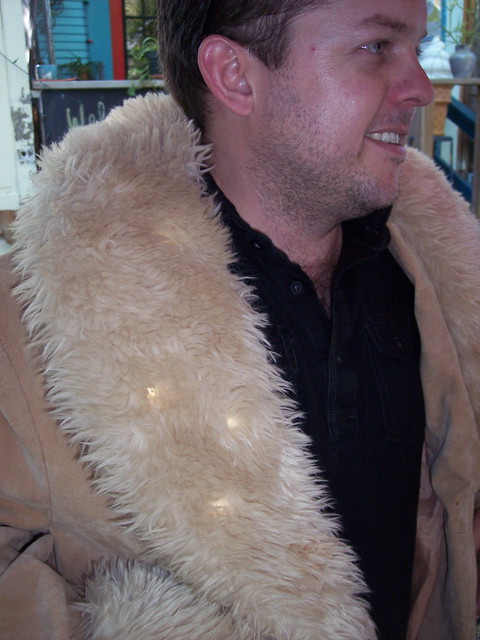
(photo caption: Brant made the jacket he is wearing with LED light up lapels)
(photo caption: backside of Brant's label, note he chose to use hard wired LEDs instead of the simpler battery pack operated LED christmas lights)
CHOOSING LIGHTS -
In the Sources section below I list several good options for buying light strings online. Few important things to remember:
LED lights take less energy than traditional christmas lights, which means smaller battery packs & longer lasting lights. LEDs are less hot than other kinds of bulbs as well, because you don't something to burn or melt.
be sure the light strings you choose are not the plug in variety but BATTERY POWERED and even solar powered lights will work if they are the kind with an on/off switch & not the ones that automatically turn themselves on based on lighting around you.
there are lots of extra fancy light options in LED battery operated varieties if you aren't satisfied with simple light strings, you can even find them in RGB color changing, moving lights, programmable lights, remote controlled, all sorts of interesting options if you take time to browse.
consider how heavy the lights are & if your garment can handle the weight without tearing. you can cut little peek-a-boo holes to push your bulbs through if you want to hide the wires & still let your light shine.
SEWING IN LIGHTS -
Turn your garment inside out, then start with the battery pack and work your way along the light string from there. If you made or found a pocket, slip the battery pack into place. If you have a battery pack that can be sewn onto the garment and worn comfortably, that will also work. I made a little felt flap to cover the edges of the pack from my skin so I wouldn't be rubbed the wrong way during wear.
Now layout the rest of the wire so you can get an idea of what it will look like & how much the light will cover since its a lot easier to make changes to the lighting design before things start getting tacked down. if you are doing a complicated light pattern such as spirals you can temporarily set the lights in place with blue painters tape (it leaves less gum on the fabric than gaffers or duct tape). As mentioned before do not bend or pinch the wire when doing your layout because you don't want to hurt the inner conductive wires, stick to using soft curves, straight lines or loops to decorate with instead.
Once you have your design for the light string laid out you can take a needle and thread and stitch the lights into place. DO NOT PIERCE THE WIRE WITH THE NEEDLE or it will short out *kapow*. its not necessary to run a seam down the entire wire, really you are just creating support around each of the heavy lights. tack the lights onto the garment so that it can defy gravity even if you are hopping on a trampoline.
In last spring's workshop, some peoples' projects hid the wires behind lapels and hems. They created peek-a boo holes in the fabric to push the bulbs through. This allowed them to hide the wires & they just had to really tack down the lights tightly to keep the bulb in the hole exposed. Other projects sewed the wire onto linings so that the lights could be seen through a top layer of more transparent fabric. Thick monster fur can be used and the wires and lights sewn on the front side as the long tendrils of the fur hid the wires but not the light.
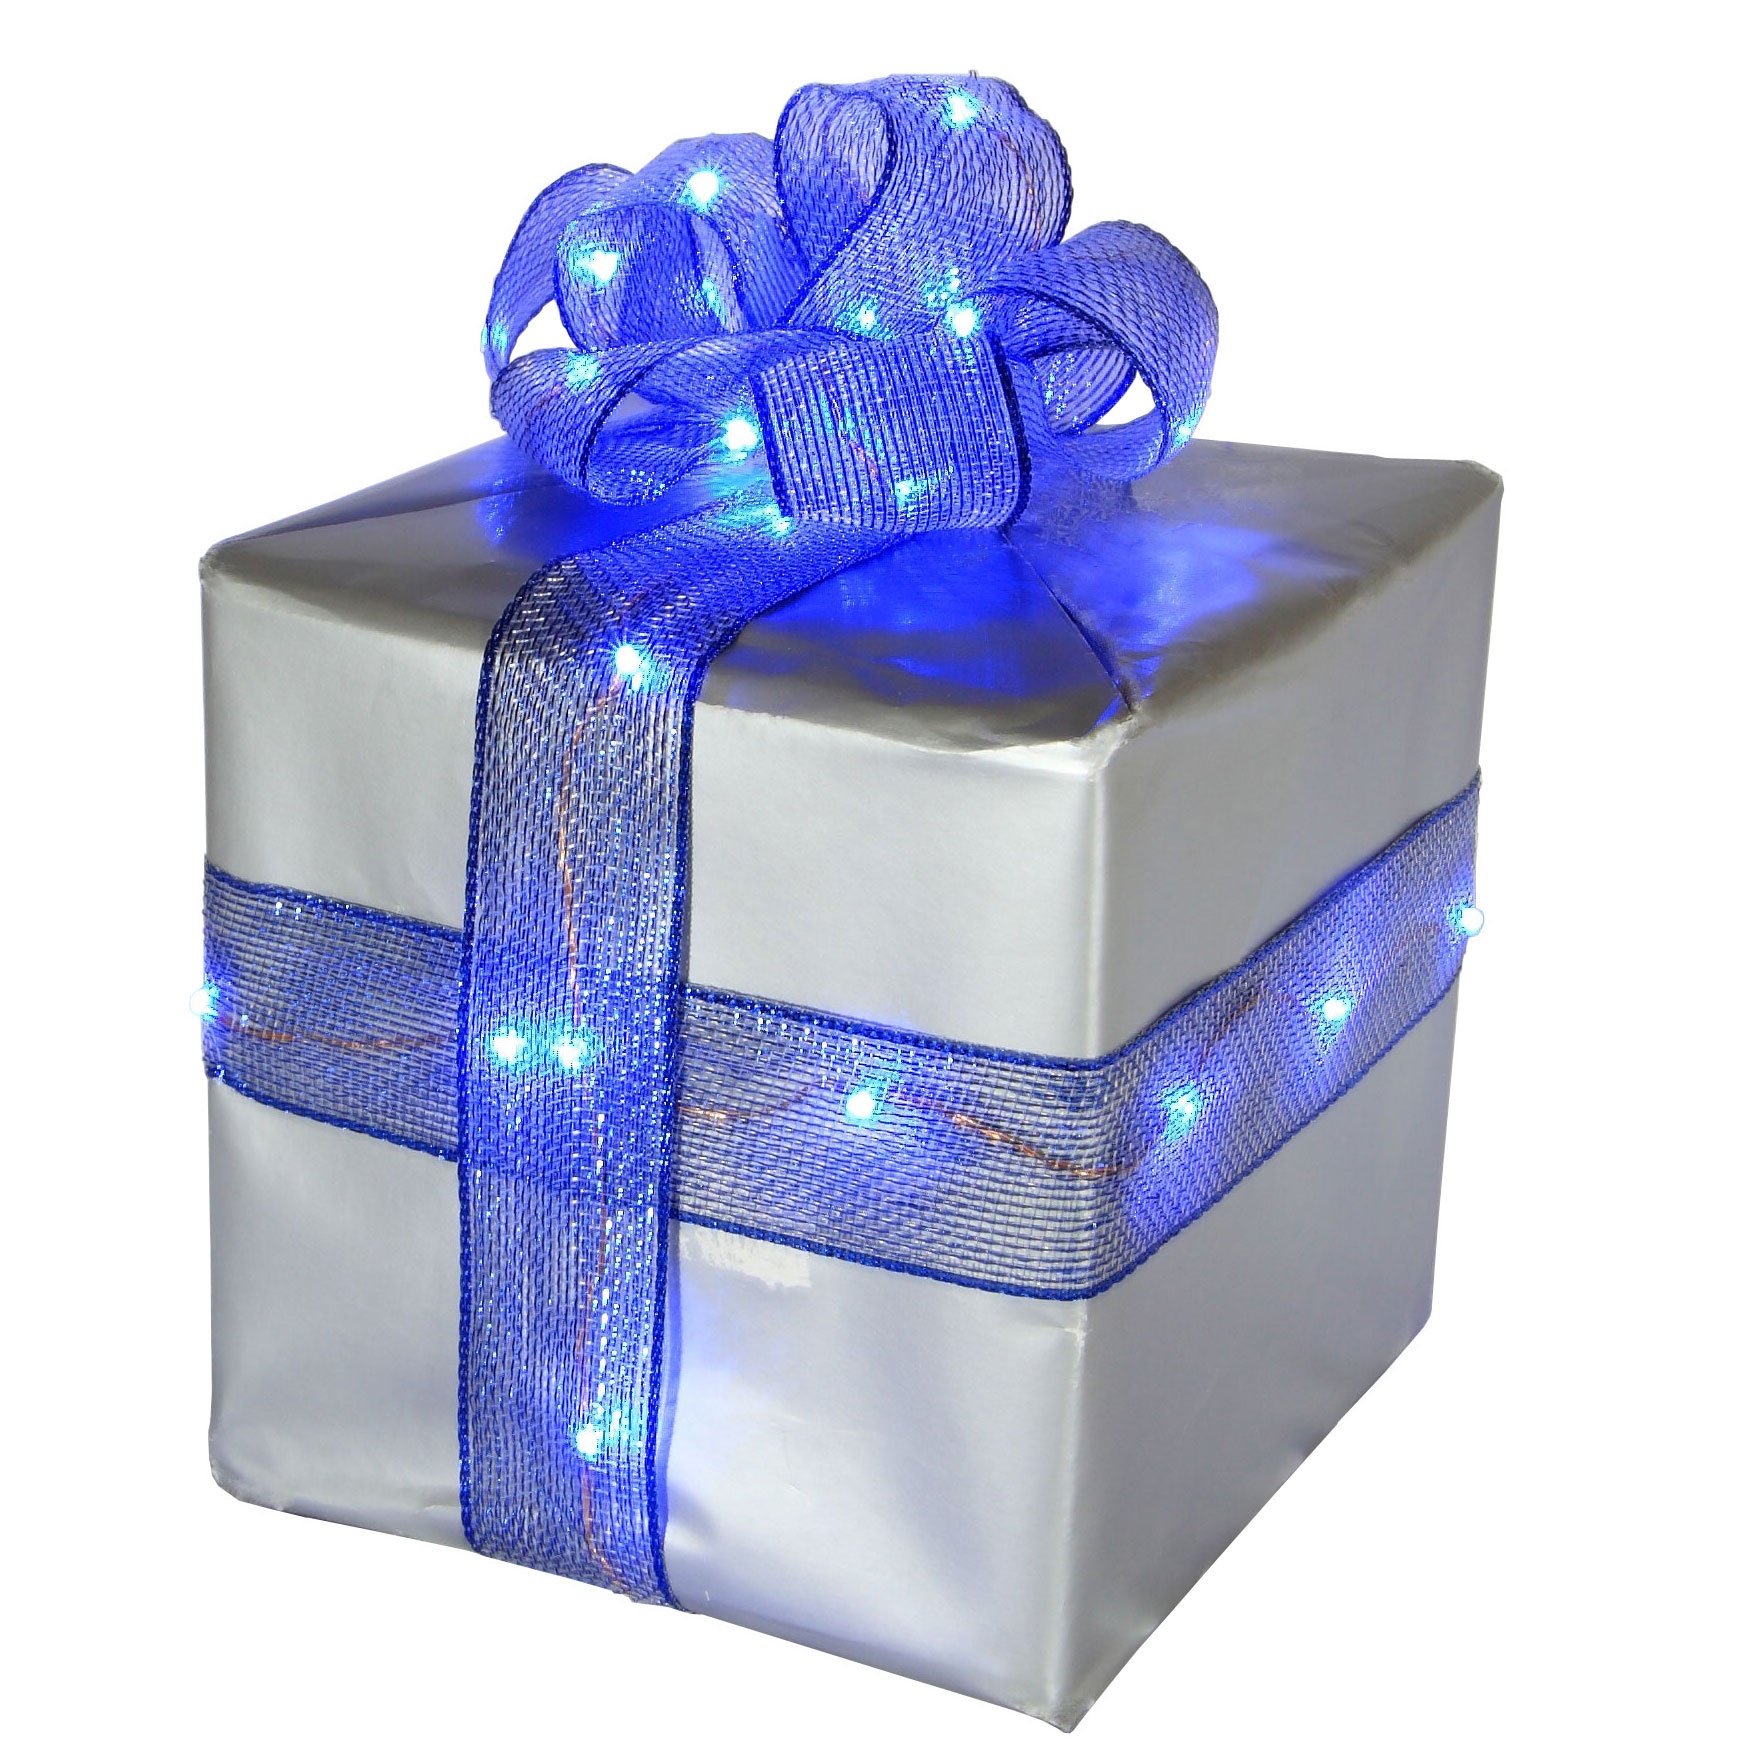
(photo caption: battery operated "fairy lights" have super small bulbs on covered silver wire)
Okay friends, can't wait to see you light up my night. Looking forward to seeing pictures of your projects.
SOURCES (where to buy battery powered LED light strings for this kind of project)-
Best selection & prices I found (includes fairy lights,
leds, el, rope lights, waterproof, submersible, fairy berries, bendable “branches”,
etc):
Table of Contents: 1 - TIPS (wigs, adhesives, patterns, dyes for fabric & leather, props, making harnesses for wings) 2- LINKS (quality brands, shopping sources, product recommendations, costuming textbooks, diy videos) 3- CREDITS (where I acquired all this new knowledge)
i went to a fabulous costuming construction lecture led by a troupe from Atlanta featuring Ana Aesthetic, who were appearing at an anime convention held at a downtown Dallas hotel. The group of girls all looked fabulous but more importantly they made many of their own costumes, wigs, accessories & props. Many of them explained that they were working on degrees in visual art, fashion design, etc. They didn't believe in that industry secrets nonsense & were very honestly open about the tools, sources & methods they use to take make & maintain their outfits. Clever stuff so I took notes so that I might share with you today...
(1) TIPS
To keep your wigs looking nice if you plan to wear them a few times, first they suggested storing & transporting the wigs neatly (such as a gallon ziplock bag for each). before styling & to keep long wigs looking shiny & untangled, go to the "ethnic beauty aisle" and buy Olive Oil conditioning spray.
When styling wigs into unnatural or gravity defying hairstyles (like making Lady Gaga's hair bow), they suggest using diluted Elmer's Glue & letting it dry into shape.
If you are creating hair extensions, falls, clip-ins or hair fascinators... my favorite DURABLE yet flexible adhesive is called Beacon 3-In-1 and can be had at Michaels (this is what my friend Bama makes her extensions with)
Attaching heavier props to things like hats, headbands and such often takes something more serious than hot glue (which is a brittle bond). E6000 is weather resistant, submersible & is also used on art cars... the best adhesive I know of for durable hold even if its different kinds of materials being put together.
They also recommend purchasing a basic modifiable sewing patterns by Simplicity for those designing costumes who need a basic form to start with.
When dyeing fabric, use high quality dyes for intense colors (like Jacquard products listed below). If you use a washing machine to do the dye be sure to rinse out the machine with vinegar afterwards.
Stiff, tall collars on the neckline are usually created with interfacing, or Stiffy stuff from michaels or diluted elmers glue.
When attaching leather accessories or foam props like "armor" to your outfit, use magnetic strips to hold them onto the fabric (without tearing it or stretching it out).
When molding props in the oven, use a piece of foam or soft plastic slightly larger than the metal pattern it will shape over. After warming in the oven, slap over the mold & press down. use a heat gun to finish melting into shape.. Shaping foam into the shape of a prop can also be achieved by using sanding blocks from Home Depot.
Multiple ways offered to create a harness or frame to build wings on. Any wings will need a frame to hold it to your body comfortably. The skeleton of the wings can be shaped from steel gauge wire, thin pvc tubing, brazing wire or fiberglass flex poles. You will want to cover the skeleton with something strong & lightweight. They suggested several methods such as covering it with Buckram (milinary mesh used like paper mache with Mod Podge). other girls prefered using Cheesecloth and a product from the craft store called Rabbit Skin Glue which is heated during prep and is used to tighten & strengthen the cheese cloth so that it can be sewn through. a samba costumer suggests gluing strips of felt wound around the pokey metal parts for both beauty & comfort.
(2) LINKS
They recommended several online suppliers &
product brands (listed below). but to save money & keep
the costume cost low, it can be good to find a group of like minded
friends to go into together on an order & combine shipping
costs. Divide shipping costs based on the weight of the items being
ordered by each person (this is especially useful when one person is
buying heavier items than the others such as shoes) -Fabric suppliers... huge list at this link(cotton, dancewear, leather, trims, feathers, specialty notions like zippers etc) at: http://meredithplacko.com/?p=189
-recommended BRANDS for speciality costuming supplies-
Jacquard Screen Printing Kit (screen printing of custom fabrics by the bolt as well as fabric paints & dyes)
www.jacquardproducts.com
Angelus Leather Paint (amazing variety of colors) http://www.angelusshoepolish.com/cat6.html
Inline Metallic Dust additive for leather paint (sparkle) http://turtlefeathers.net/text/angelus/supplies.html
Calsak Plastic (specialty shaped plexiglass)
Sintra PVC sheets (is light & can be shaped like wood, can use acrylic paint) http://www.tri-dee.com/Sintra%20sheets%20information.htm
-costuming BOOKS(both college textbook level found on half.com)-
Pattern Drafting for Fashion by Teresa Gilewska (2011)
The Costume Technician's Handbook by Rosemary Ingham & Liz Covery (1992)
-costuming VIDEOS-
-How to Make Scale Maille (cosplay chainmail or fishscale) video
http://www.youtube.com/watch?v=OyyS6_sDZPw
- How to make a Headdress (out of wires, feathers & sparkles) very professional
http://www.youtube.com/watch?v=TUyMgU5k1JY
- How to make a carnivale style backpack harness for wings, etc video
http://www.youtube.com/watch?v=3K6yLg6Ckc8
- how to make a feathered skirt aka bustle & simple feather headdress... easier, but less durable
http://www.youtube.com/watch?v=ZHThS7CnKvg
(3) CREDITS more about the girls that hosted the panel & provided many of these useful links at:
www.facebook.com/anaaesthetic
one of the girls hosting the panel's personal site: http://meredithplacko.com/?p=189
A-kon is the longest running anime convention in the United States and is held annually in Dallas. This was their 23rd year & there were tons of merchandise vendors, costumes, workshops, lectures, expert panels, viewing rooms, reading rooms, autograph tables & whatever u need to indulge your taste for japanese media :) http://a-kon.com




 conditioning spray.
 and (2)

 & letting it dry into shape.
 and can be had at Michaels (this is what my friend Bama makes her extensions with)
 is weather resistant, submersible & is also used on art cars... the best adhesive I know of for durable hold even if its different kinds of materials being put together.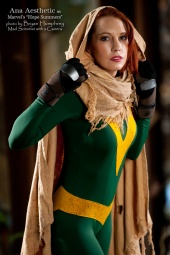

 stuff from michaels or diluted elmers glue.
 (milinary mesh used like paper mache with
  ). other girls prefered using
  and a product from the craft store called
  which is heated during prep and is used to tighten & strengthen the cheese cloth so that it can be sewn through. a samba costumer suggests gluing strips of felt wound around the pokey metal parts for both beauty & comfort.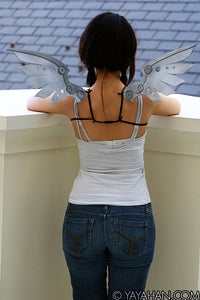
 (screen printing of custom fabrics by the bolt as well as fabric paints & dyes)
  (amazing variety of colors) http://www.angelusshoepolish.com/cat6.html
 (for casting) http://amazingmoldputty.com/
 3d metallic fabric paint & adhesive http://www.jacquardproducts.com/lumiere.html